

framer-motion은 css 애니메이션을 조금 더 쉽게 사용할 수 있도록 해주는 고마운 애니메이션 라이브러리이다.
실무에서 자주 사용되는 애니메이션을 예제코드와 함께 framer-motion을 사용하여 구현해봤다.
framer-motion은 React 18이상에서만 사용할 수 있다.
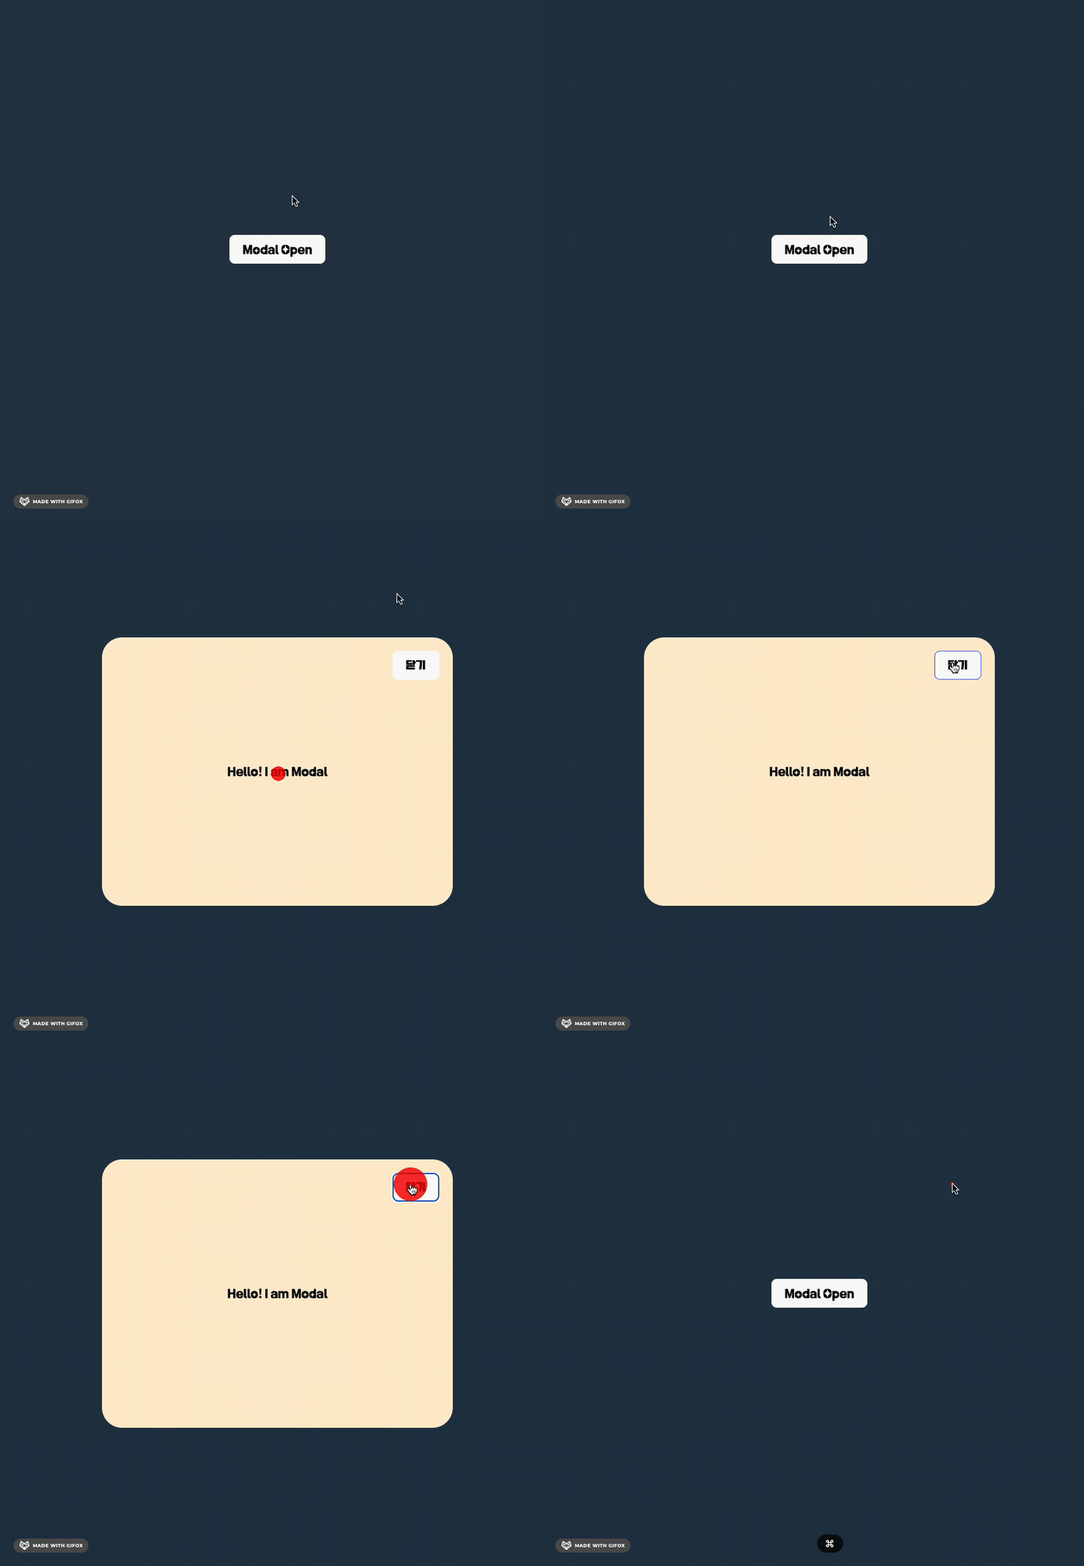
자연스럽게 나타났다가 사라지는 모달창
import { AnimatePresence, motion } from "framer-motion";
function App() {
  const [modalOpen, setModalOpen] = useState(false);
  // 중간생략
  return (
    <div className="container">
      <button onClick={openModal}>Modal Open</button>

      <AnimatePresence>
        {modalOpen && (
          <motion.div
            className="modal"
            initial={{ opacity: 0 }}
            animate={{ opacity: 1 }}
            exit={{ opacity: 0 }}
            transition={{
              duration: 0.24,
            }}
          >
            Hello! I am Modal
            <button className="close" onClick={closeModal}>
              닫기
            </button>
          </motion.div>
        )}
      </AnimatePresence>
    </div>
  );
}
framer-motion의 사용법은 굉장히 직관적이다.
일단 애니메이션이 동작해야되는 element를 motion. 으로 찾아서 작성해주면 된다.
주요 Props
initial: 처음에 어떤 상태로 시작할지 정의한다.animate: 어떤 애니메이션을 적용할지 정의한다.exit: 애니메이션이 끝나고 어떤 상태로 끝날지 정의한다.transition: 애니메이션의 속도, 지연시간 등을 css의 transition을 사용하여 정의한다.
여기서는 AnimatePresence 도 중요한 역할을 한다. AnimatePresence(공식문서)를 사용하면 React Tree가 dom에서 제거 될 때 실행 되는 컴포넌트를 정의할 수 있다.
위에서 말한 3번 exit의 경우에는 AnimatePresence가 없으면 동작하지 않는다.
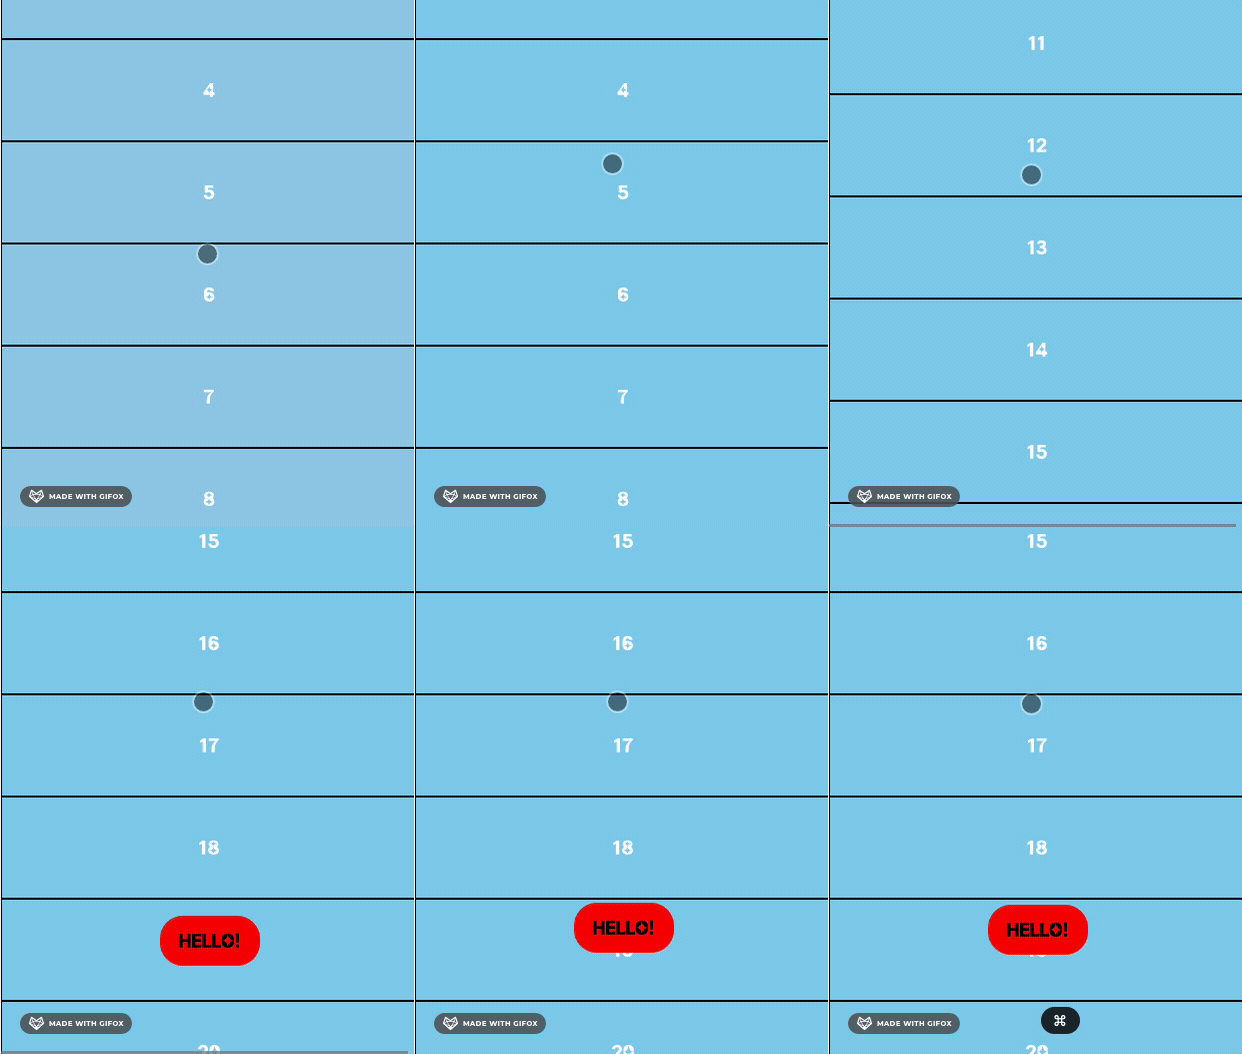
스크롤 하면 나타나는 버튼
import { useAnimation, motion } from "framer-motion";
function App() {
  const controls = useAnimation();

  useEffect(() => {
    window.addEventListener("scroll", () => {
      if (window.scrollY > 800) {
        controls.start("visible");
      }
    });
  }, [controls]);

  return (
    <div className="container">
      <div className="scroll">
        // 중간생략
        <motion.button
          className="event-button"
          animate={controls}
          variants={{
            hidden: { bottom: -50 },
            visible: { bottom: 100 },
          }}
          initial="hidden"
          transition={{ ease: "backOut", duration: 1 }}
        >
          HELLO!
        </motion.button>
      </div>
    </div>
  );
}
useAnimation 훅을 사용하면 위처럼 명령형으로 애니메이션을 조작 할 수 있다. 사용방법은 주석으로 설명한다.
const controls = useAnimation()
<motion.button
  className="event-button"
  animate={controls} // animate에는 어떤 애니메이션을 적용할지 정의 하는 대신, useAnimation 훅의 리턴값을 넣어준다
  variants={{
    hidden: { bottom: -50 },
    visible: { bottom: 100 },
  }} // variants 안에 key값으로 상태를 정의하고, value값으로 애니메이션을 정의한다.
  initial="hidden" // variants에 정의된 hidden 상태로 시작한다.
  transition={{ ease: "backOut", duration: 1 }}
>
  HELLO!
</motion.button>
이후에는 다음처럼 원하는 조건에서 애니메이션틀 트리거 할 수 있다.
useEffect(() => {
  window.addEventListener("scroll", () => {
    if (window.scrollY > 800) {
      controls.start("visible");
    }
  });
}, [controls]);
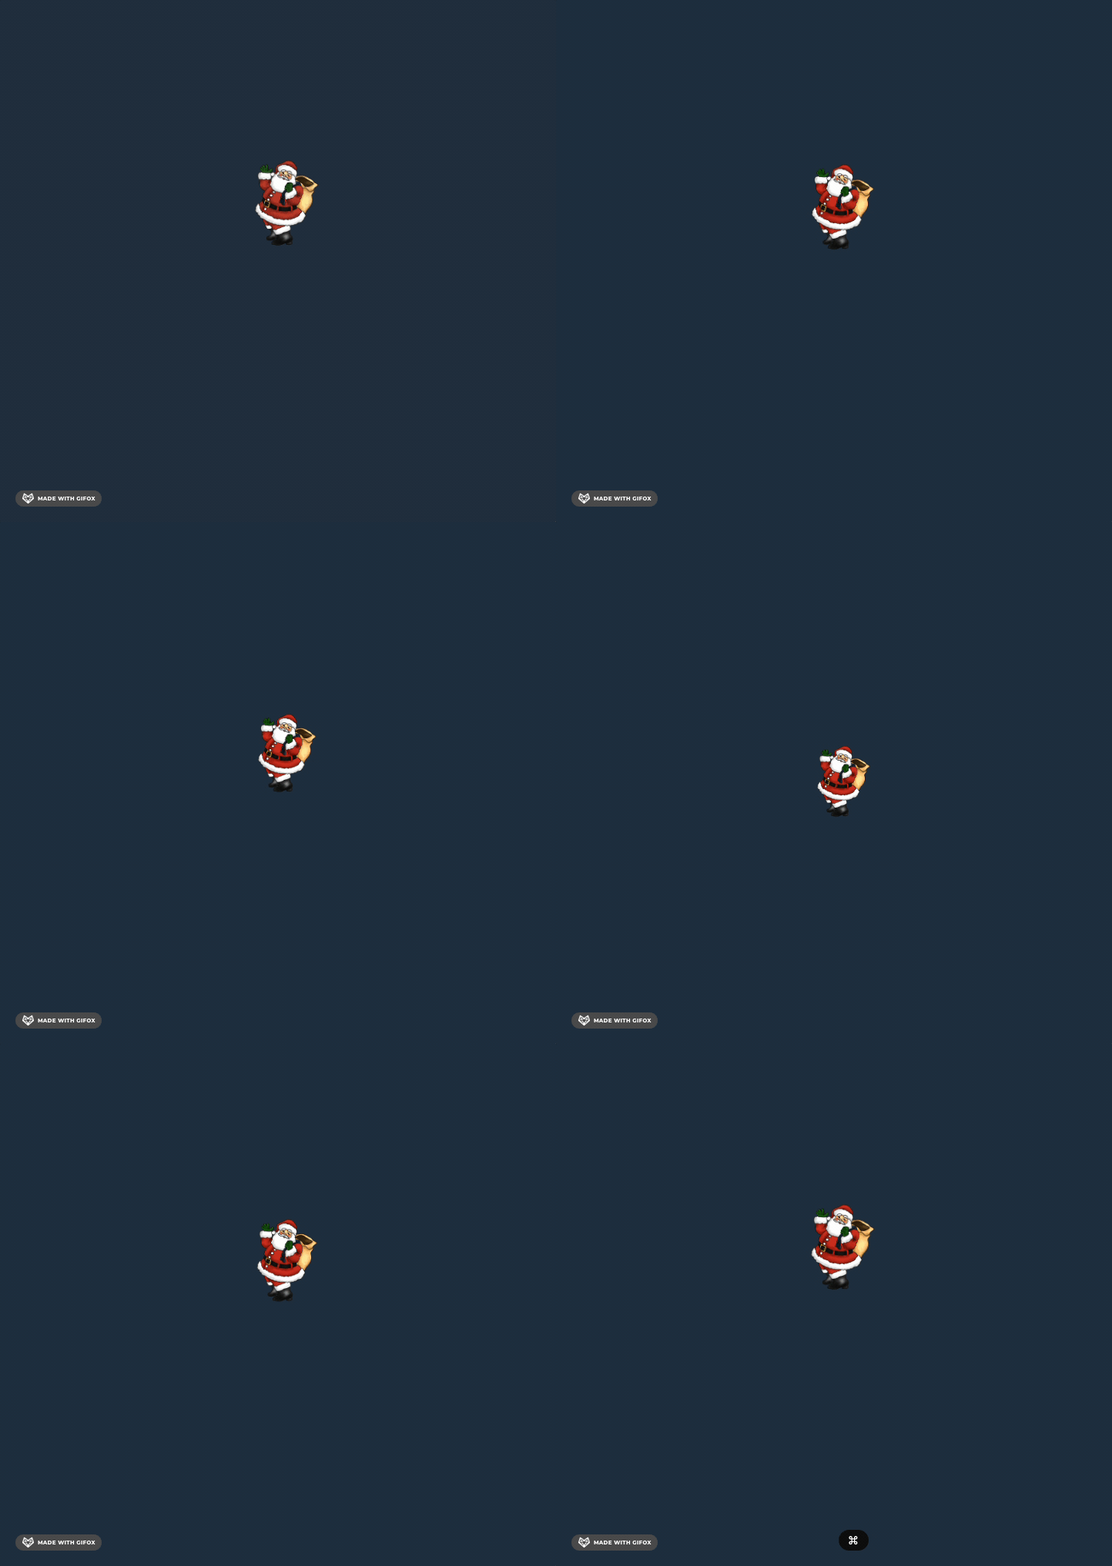
통통 튀는 산타클로스
<div className="container">
  <motion.img
    src={santa}
    className="santa"
    transition={{
      duration: 1.2,
      repeat: Infinity,
      repeatType: "reverse",
      ease: "circOut",
    }}
    animate={{
      y: -140,
      width: "7.5rem",
      height: "7.5rem",
    }}
  />
</div>
.santa {
  width: 6rem;
  height: 5rem;
  object-fit: contain;
}
여기서는 y포지션과 크기를 조정하여 애니메이션을 구현했고, 주요하게 repeat옵션을 사용했다. repeatType의 종류는 loop | reverse | mirror 3가지가 있다.
- loop: 처음부터 반복
- reverse: 앞뒤로 반복
- mirror: 앞뒤로 반복하되, 앞뒤로 반복할 때마다 애니메이션의 방향을 바꿈
화면에 나타날 때 차는 프로그레스바
import { motion, useInView } from "framer-motion";

const ref = useRef(null);
const isInView = useInView(ref, { once: true });

return (
  <div className="container">
    <div className="top" />
    <div className="gage-container" ref={ref}>
      {isInView && (
        <motion.div
          className="gage"
          initial={{ width: 0 }}
          animate={{ width: "50%" }}
          transition={{ duration: 0.6, delay: 0.3 }}
        />
      )}
    </div>
  </div>
);
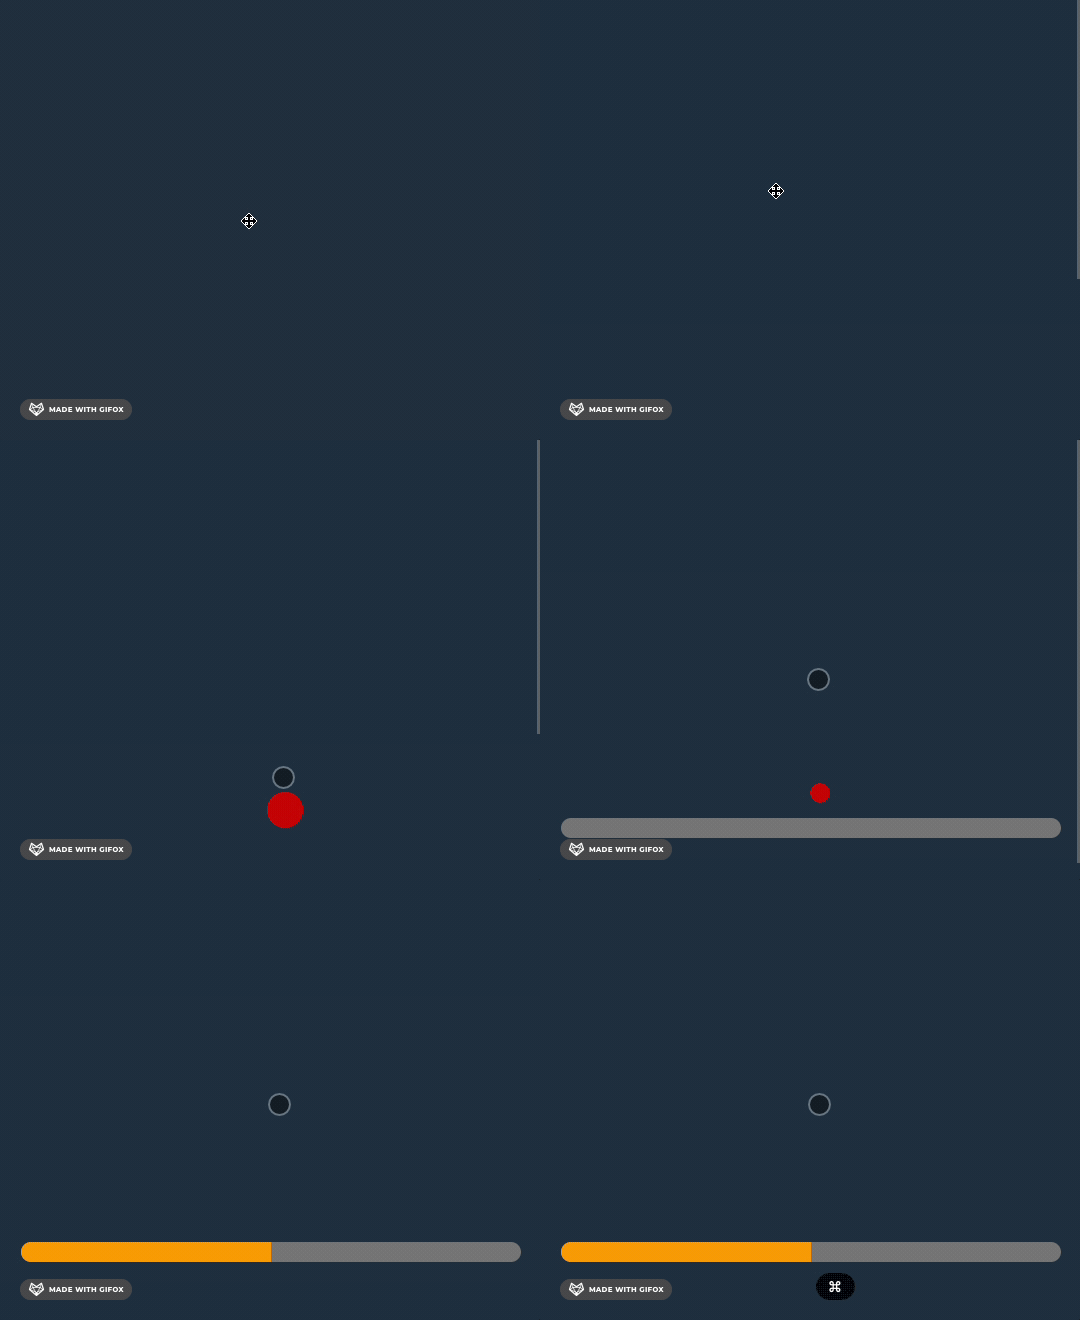
framer-motion에서는 useInView 훅같은 유틸 기능을 제공한다. 이 기능을 사용하면 ref로 연결 되어 있는 dom이 화면에 노출될 때 true로 리턴되는 값을 받을 수 있다.
기본적으로 dom이 노출되거나 안보일때 hook이 실행되어 리렌더링 되지만 once 옵션을 사용하면 한번만 실행되도록 할 수 있다.
터치할 때 살짝 작아지는 버튼
<div className="container">
  <motion.button
    className="touch"
    initial={{ scale: 1 }}
    whileTap={{ scale: 0.9 }}
  >
    터치 버튼
  </motion.button>
</div>
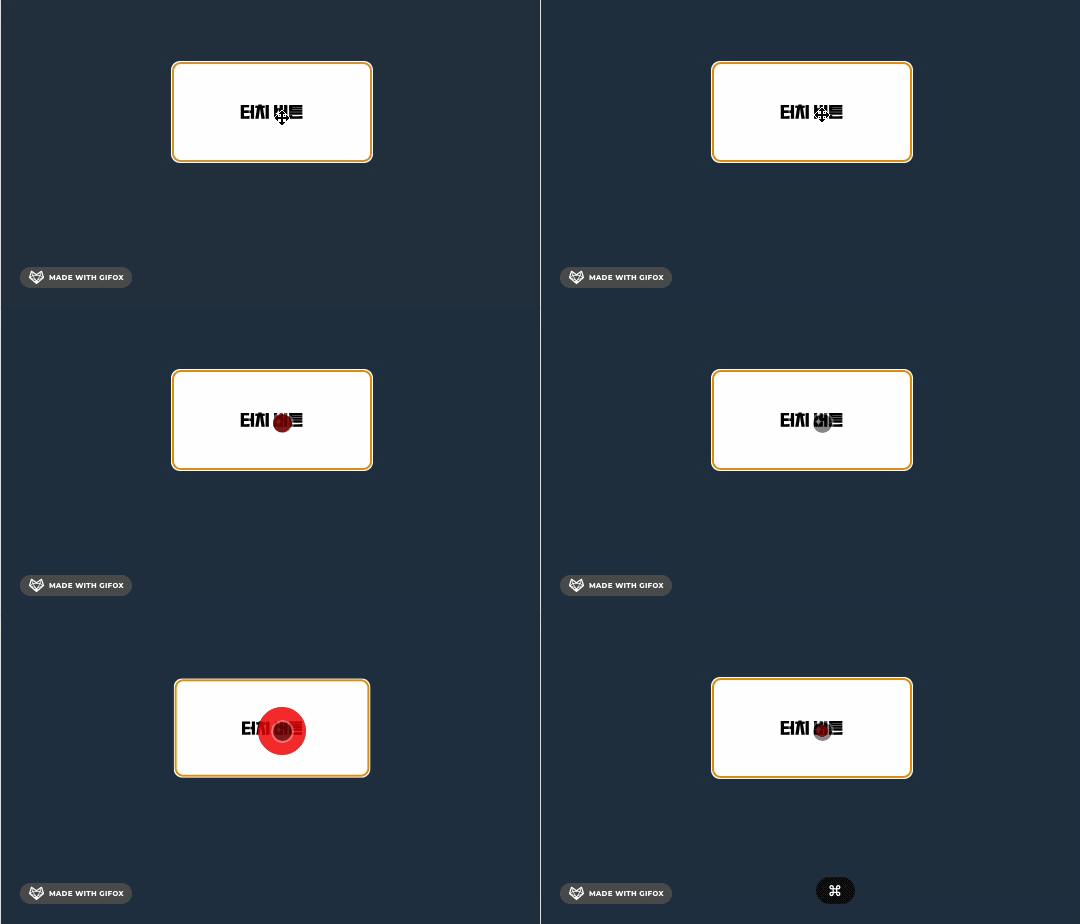
요즘 많이 보이는 인터랙션이다. framer-motion에서는 이렇게 gesture system을 간단하게 사용할 수 있다. whileHover prop도 제공하니 같은 방법으로 사용하면 된다.
마치며
지금까지 framer-motion을 사용하여 실무에서 자주 사용되는 애니메이션을 구현해보았다. framer-motion은 애니메이션을 구현하는데 있어서 굉장히 직관적이고 사용하기 쉽다. 또한 gesture system을 제공하고 있어서 터치나 마우스 이벤트를 간단하게 사용할 수 있다는 점도 좋다.
혹시 emotion이나 styled-component를 사용하고 있다면 styled(motion.div) 처럼 사용하면 된다.
더 수려하고 복잡한 에니메이션을 구현하고 싶으신 분들은 공식문서를 참고하여 공부해보면 좋을 것 같다.